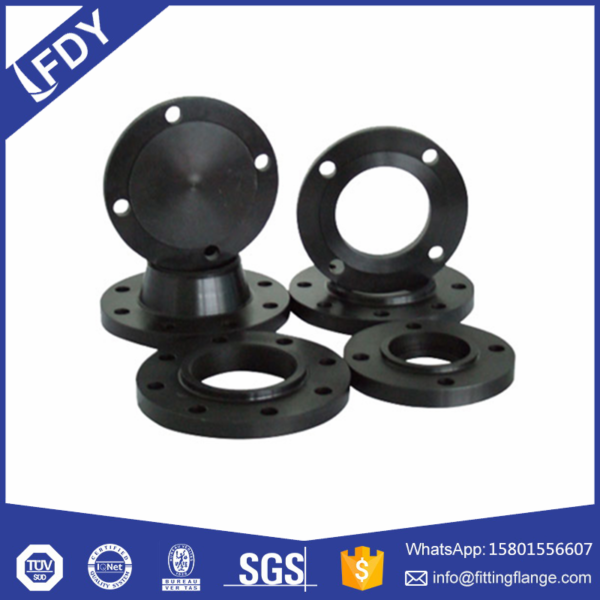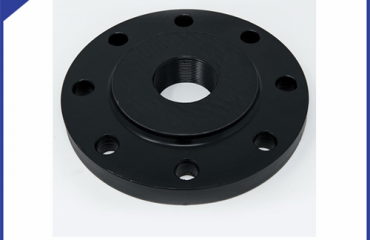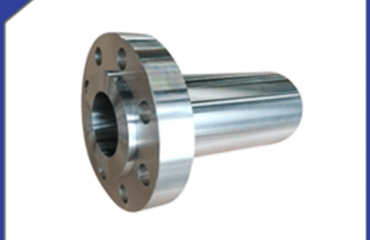
Installing a carbon steel flange properly is crucial for ensuring a secure connection that can withstand high pressure and temperature conditions. Here is a step-by-step guide on how to properly install a carbon steel flange:
Prepare the connecting pipes: Before installing the flange, ensure that the connecting pipes are clean and free of any debris or contaminants. This will help prevent any leaks or damage to the flange seal.
Select the right flange: Make sure you have the correct size and class of carbon steel flange for your application. The flange should be compatible with the pressure and temperature requirements of the system.
Position the flange: Place the flange on the connecting pipes with the gasket in between. Make sure the bolt holes on the flange align with those on the connecting pipes.
Insert the bolts: Insert the bolts through the bolt holes in the flange and the connecting pipes. Use washers and nuts to secure the bolts in place.
Tighten the bolts: Gradually tighten the bolts in a crisscross pattern to ensure even pressure distribution. Use a torque wrench to tighten the bolts to the specified torque value provided by the flange manufacturer.
Check the alignment: Make sure the flange is properly aligned with the connecting pipes to prevent any misalignment or distortion. Adjust the position of the flange if necessary.
Inspect the installation: Once the flange is securely installed, visually inspect the connection for any signs of leaks, damage, or misalignment. Check the bolts and gasket for proper seating and compression.
 Language
 Espanol
 English
 Italian
 عربى
عربى
 Skype: chinamaker99
  Tel: 86-316-5120812
 Email:
  Whatsapp:

