1. Tooling design and manufacturing
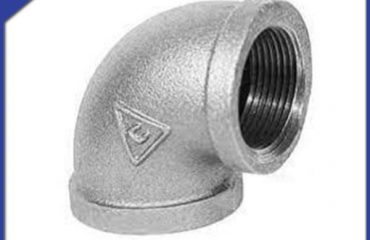
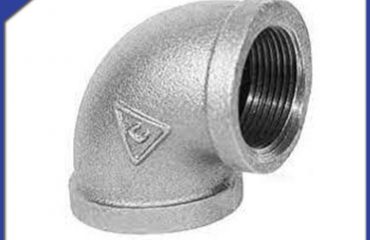
The stainless steel flange consists of two 900 plywood, two flange brackets, two vertical plates and four stiffeners. In order to ensure the rigidity of the tooling, the weld of the connecting plate shall be slotted and penetrated, and the welding angle shall be 20-30mm high. Bolt holes are drilled on the flange bracket to ensure the bolt connection between the flange and the flange bracket is accurate. There is a gap between the back of the small end flange and the bracket that can be put into the small manual Jack. At the same time, there is a gap on the flange bracket along the direction of the vertical plate, so that the elbow can be installed into the tooling. The tooling of similar groove structure adopts thick steel plate, which can meet the cutting requirements. Requirements for rigidity.
2. Tool performance requirements
The two flange faces of the stainless steel flange are perpendicular to each other, while the worktable of the vertical lathe rotates horizontally, so the main function of the clamp is to connect the clamp and the flange by using the bolt holes on the large end flange. When the fixture is stuck on the worktable, the processed flange plane shall be concentric and parallel to the vertical lathe worktable. In order to reduce the number of clamps, the clamp shall be able to change the clamping position to ensure that both ends of the bend flange can be machined on one clamp. At the same time, the equipment must have enough rigidity, otherwise it will seriously affect the processing quality of the flange sealing ring groove. Therefore, in order to improve the rigidity and operation convenience, under the condition of satisfying the use, the tooling height should be reduced as much as possible. The rotation radius after fixing the clamp with the stainless steel flange shall not exceed the working radius of the vertical car, and it can be clamped and adjusted conveniently to facilitate cutting.
3. Tool stiffness calibration
The deflection and rotation angle of the cantilever beam model of the groove structure should be checked when it is bent and twisted in the process of rotation. According to the above inspection, the large deflection is 7.27 * lo-7m, the large angle is 8.969 * 10-5, which is small deformation, and the relevant parts are reinforced. The rigidity is far beyond the calculated value. The rigidity fully meets the requirements of cutting force. The turning diameter of the tool combined with the elbow flange is 2.42M < 3.50M (turning diameter of the double column vertical car), so the tool is feasible in theory.
4. Turn
When processing the stainless steel flange, the bottom plate shall be adjusted downward and clamped on the vertical lathe workbench. The elbow flange is installed in the manual installation. The large end flange is fixed with bolts and brackets to ensure that the flange processing surface is concentric and parallel to the vertical turning table. When processing the small end flange, clamp the bottom plate of the tooling down on the vertical lathe workbench. Tighten the back of the small end flange and small bracket with six small manual jacks, and then fix the small end flange and small bracket with bolts. Only in this way can the small flange be cut. When the clamp is cut and fixed, the verticality of the large and small flanges shall be ensured.
5. The stainless steel flange tooling is simple and reasonable in structure, convenient in manufacture, good in rigidity and easy to adjust in alignment during processing. It fully meets the requirements of vertical lathe for processing large elbow flange, and all three groups of elbow flange are qualified. In the future, a new way of machining similar parts with vertical lathe is opened up without end face machining machine.
 Language
 Espanol
 English
 Italian
 عربى
عربى
 Skype: chinamaker99
  Tel: 86-316-5120812
 Email:
  Whatsapp:
